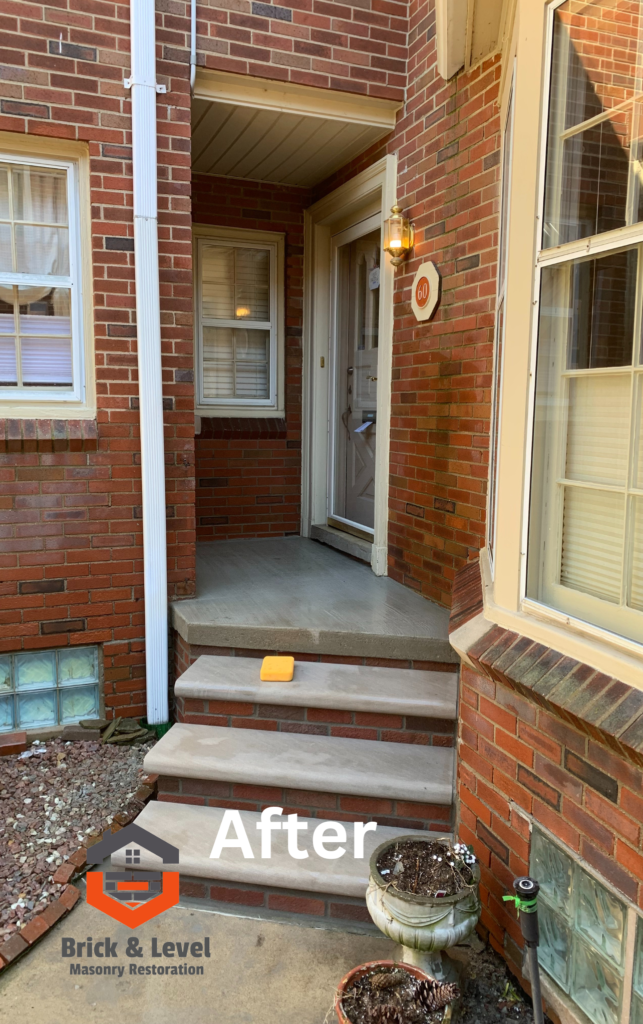
A brick walkway can add charm and elegance to any outdoor space. Over time, however, it is not uncommon for these pathways to suffer from wear and tear, resulting in cracked or sunken bricks, uneven surfaces, and deteriorating mortar joints. The good news is that with some basic knowledge and a little elbow grease, you can restore the beauty and functionality of your brick walkway. In this comprehensive guide, we will take you through the step-by-step process of repairing and revitalizing your brick walkway, ensuring it becomes a stunning feature of your landscape once again.
Assessing the Damage :
- Before you embark on repairing your brick walkway, it’s essential to assess the extent of the damage. Walk along the pathway, noting any cracked or broken bricks, areas with sunken or uneven surfaces, and crumbling mortar joints. This assessment will help you determine the scope of the repairs needed and the materials required.
Gathering the Tools and Materials
- To repair a brick walkway, you’ll need a few essential tools and materials, including a pry bar, rubber mallet, chisel, trowel, jointer, wire brush, safety goggles, work gloves, a broom, brick adhesive, and matching replacement bricks. It’s crucial to choose replacement bricks that closely match the size, shape, and color of the existing bricks to maintain a uniform look.
Removing Damaged Bricks
- Begin the repair process by removing the damaged bricks. Use a pry bar and rubber mallet to carefully loosen and lift the bricks from the walkway. If the bricks are still intact but sunken, gently lift them using the pry bar and add or remove sand beneath them to level the surface.
Cleaning and Preparing the Area
- Once the damaged bricks are removed, thoroughly clean the area. Use a wire brush to remove debris and loose mortar from the surrounding bricks and sweep away any dirt or dust. If the mortar joints are damaged, carefully chisel out the old mortar to create a clean surface for the new mortar.
Replacing Bricks and Repairing Mortar
- With the area clean and prepared, it’s time to replace the damaged bricks. Apply a thin layer of brick adhesive to the bottom of the replacement brick and carefully set it in place, tapping it down gently with a rubber mallet. Ensure that the replacement brick is level with the surrounding bricks.
Next, repair the mortar joints. Prepare a batch of mortar according to the manufacturer’s instructions. Using a trowel, carefully fill the joints with mortar, ensuring they are flush with the brick surface. For a professional finish, run a jointer along the joints to create a neat and uniform appearance.
Sealing and Maintenance
- To protect your newly repaired brick walkway, consider applying a sealant. A high-quality sealant will help prevent water damage and keep the bricks looking vibrant for longer. Follow the manufacturer’s instructions for proper application.
Regular maintenance is crucial to the longevity of your brick walkway. Sweep away debris regularly, and if weeds begin to grow between the bricks, remove them promptly to prevent further damage.
Conclusion
Repairing a brick walkway may seem like a daunting task, but with the right tools, materials, and techniques, it can be a rewarding and achievable project. By assessing the damage, gathering the necessary tools and materials, and following the step-by-step process of removing damaged bricks, cleaning and preparing the area, replacing bricks, and repairing mortar, you can breathe new life into your walkway. Remember to seal and maintain your brick walkway. With the right tools and knowledge, that an experienced masonry company has, like Brick and Level, it is possible to restore the walkway to its former beauty. By following the steps outlined above and maintaining the walkway properly, you can enjoy a beautiful and functional brick walkway for many years to come.
Contact Brick & Level Today

